
by Liz | Life Snapshot, The Backyard
We started the spring season out with our usual flurry of planning and making a few purchases to round out our once barren landscape. When we moved into our house, more than half the yard was overtaken with bamboo. For the survival of our house (and what was left of the native species) we had no choice but to remove it and very little other large vegetation survived. After planting almost 40 (itty bitty) trees on less than an acre, we were left with very few shade trees and almost no soil to speak of. In the past four (almost five) years, we’ve planted and tilled, mulched and brought in topsoil to help alleviate the situation. However, with some big expenses this past year…we’ve decided to dig in our heels and repurpose, reuse and rethink our garden plans with an eye to spending as little as possible (hopefully nothing other than a few cans of paint, tools, or other necessities that will be multi-purpose) for the remainder of the year.
Fortunately, we managed to make a few tree purchases at the beginning of April which meant…DISCOUNTS!
Fun fact, most garden stores and nurseries will give some amazing discounts early (or late) in the season. They want to offload last year’s stock (or avoid wintering stock on their grounds) so they can make room for the incoming products.
We were looking for a few things in particular, partly for their aesthetic, partly for their appeal to bees and partly for the value to home remedies (multi-purpose was the key). Once we’d purchased our hawthorn, witch hazel, apple, cherry and a few birches to screen our front yard…we realized we have a tree addiction. Oi. So, 44 trees later…
April showers bring…floods…
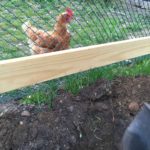
This past weekend, we got to work. The temptation was big but we buckled down and evaluated what we had to start with. We’ve had a runoff problem since the bamboo removal, and since reading Mary Reynolds’ amazing book, we finally had a plan to help correct it. We plan to cut in some swales (shallow trenches with a slight berm to help collect water so it seeps into the soil). Before we can do that, we needed to establish a path from the main section of our garden to the “farm”, which is the area we keep our chickens and will be home to the bees when they arrive.
The area leading up to it is one of the worst areas for runoff and drainage. With some leftover flagstones, we managed to sketch out a curved path that will eventually delineate some edible garden beds (we have future plans to move most of our vegetable garden in there). The stones are quite thick so they will leave us room to build up the soil with mulch and woodchips over the next few years so we’re ready for the veggies when the time comes. The best part is, the curve of the path will also create the outline of one or more of our swales. Multi-purpose for the win!
Refusing to spend means tackling abandoned projects.
To round out the weekend, we also managed to (finally) clean up our driveway which was bogged down with the remains of last year’s fall projects and some inside renovations. We sold off a few things and moved the rest so we can use our driveway for its intended purpose once again. This is a big win and something that has been bugging us for a while now.
Our ancient but still upright garage is in need of some TLC now that we have a bit of space again, so we are hoping to get that organized. We are so done buying random materials only to find we had the needed implement stored in the back corner of the garage somewhere.
The greenhouse is chock full and we are so close to moving things outside! Our last frost should be within a week or so and then it’s game time. We are hoping to stagger our seeds a bit better this year (succession planting) to help us preserve and use more of what comes out of the garden.
The list doesn’t seem to end, but we’re having fun tackling each project as it comes. With the kids a bit older, they have more staying power when we enlist their help and they love to see the changes happening as the plants grow. They’ll be picking snap peas in no time!

by Liz | The Backyard
So, we’ve been doing this whole backyard garden thing for a while now. Every year we add a little more ground or another raised bed to expand our already, rather large vegetable garden. Along the way, we’ve picked up some great tools and even made a few of our own to help keep the work to a minimum so we an sit back and enjoy the fruits of our labor.
Here are some of our most loved (read old and decrepit) tools and favorite purchases (affiliate links are for products we have used and loved. Not just a random recomendation!):
a spade – Essential for shoveling soil and helping to move large amounts of topsoil or chicken poop.
drip watering system – This was a gift for my husband last year during a VERY dry summer. We didn’t want to run sprinklers all the time, nor was it good for the plants. Having strategic water on the plants when they needed it literally saved our bacon (or veggies).
 terra-cotta pots – We inherited most of ours from friends and family, but nothing can beat them for growing tomatoes and herbs. We’ve actually stopped planting seasonal flowers and coopted them all for vegetables. Is that taking it a step too far?
 chicken poop – Easy to source since we have our own flock of dirty birds, but seriously…this makes a great addition as compost! Having some great compost is life-changing if you plant your vegetable garden in the same area every year.
wine barrel – No explanation needed? Sadly, this one is retired from its wine making days, but will  continue its life as a rain barrel. We’re also pretty stoked that we’ll be a bit more conservative about our water supply.
weed barrier – The squash plants always seem to overtake our raised beds, so we’ve been planting them directly in the ground these days. The week barrier makes a huge difference in keeping the weeds controlled while the young plants gain traction.
Next up, we’ll be working on our greenhouse so I’m sure I’ll be adding to this list as time goes on! What are some of your must have gardening items?

by Liz | The Backyard
My husband LOVES pumpkin pie. I’m not a huge fan, there’s just something about the texture. However, when our neighbor kindly gave us a Boston Marrow Squash and we realized it’s famous for use in Pumpkin Pie, I just had to take a stab at it (literally) and find a great pumpkin pie recipe.
The first challenge was actually splitting the darn thing so I could roast it. I broke a knife point clean off. Next time, I’m getting a wedge and a mallet…no joke. Another method is to roast the squash before trying to cut it open. This would probably be a bit easier, but way less adventurous.
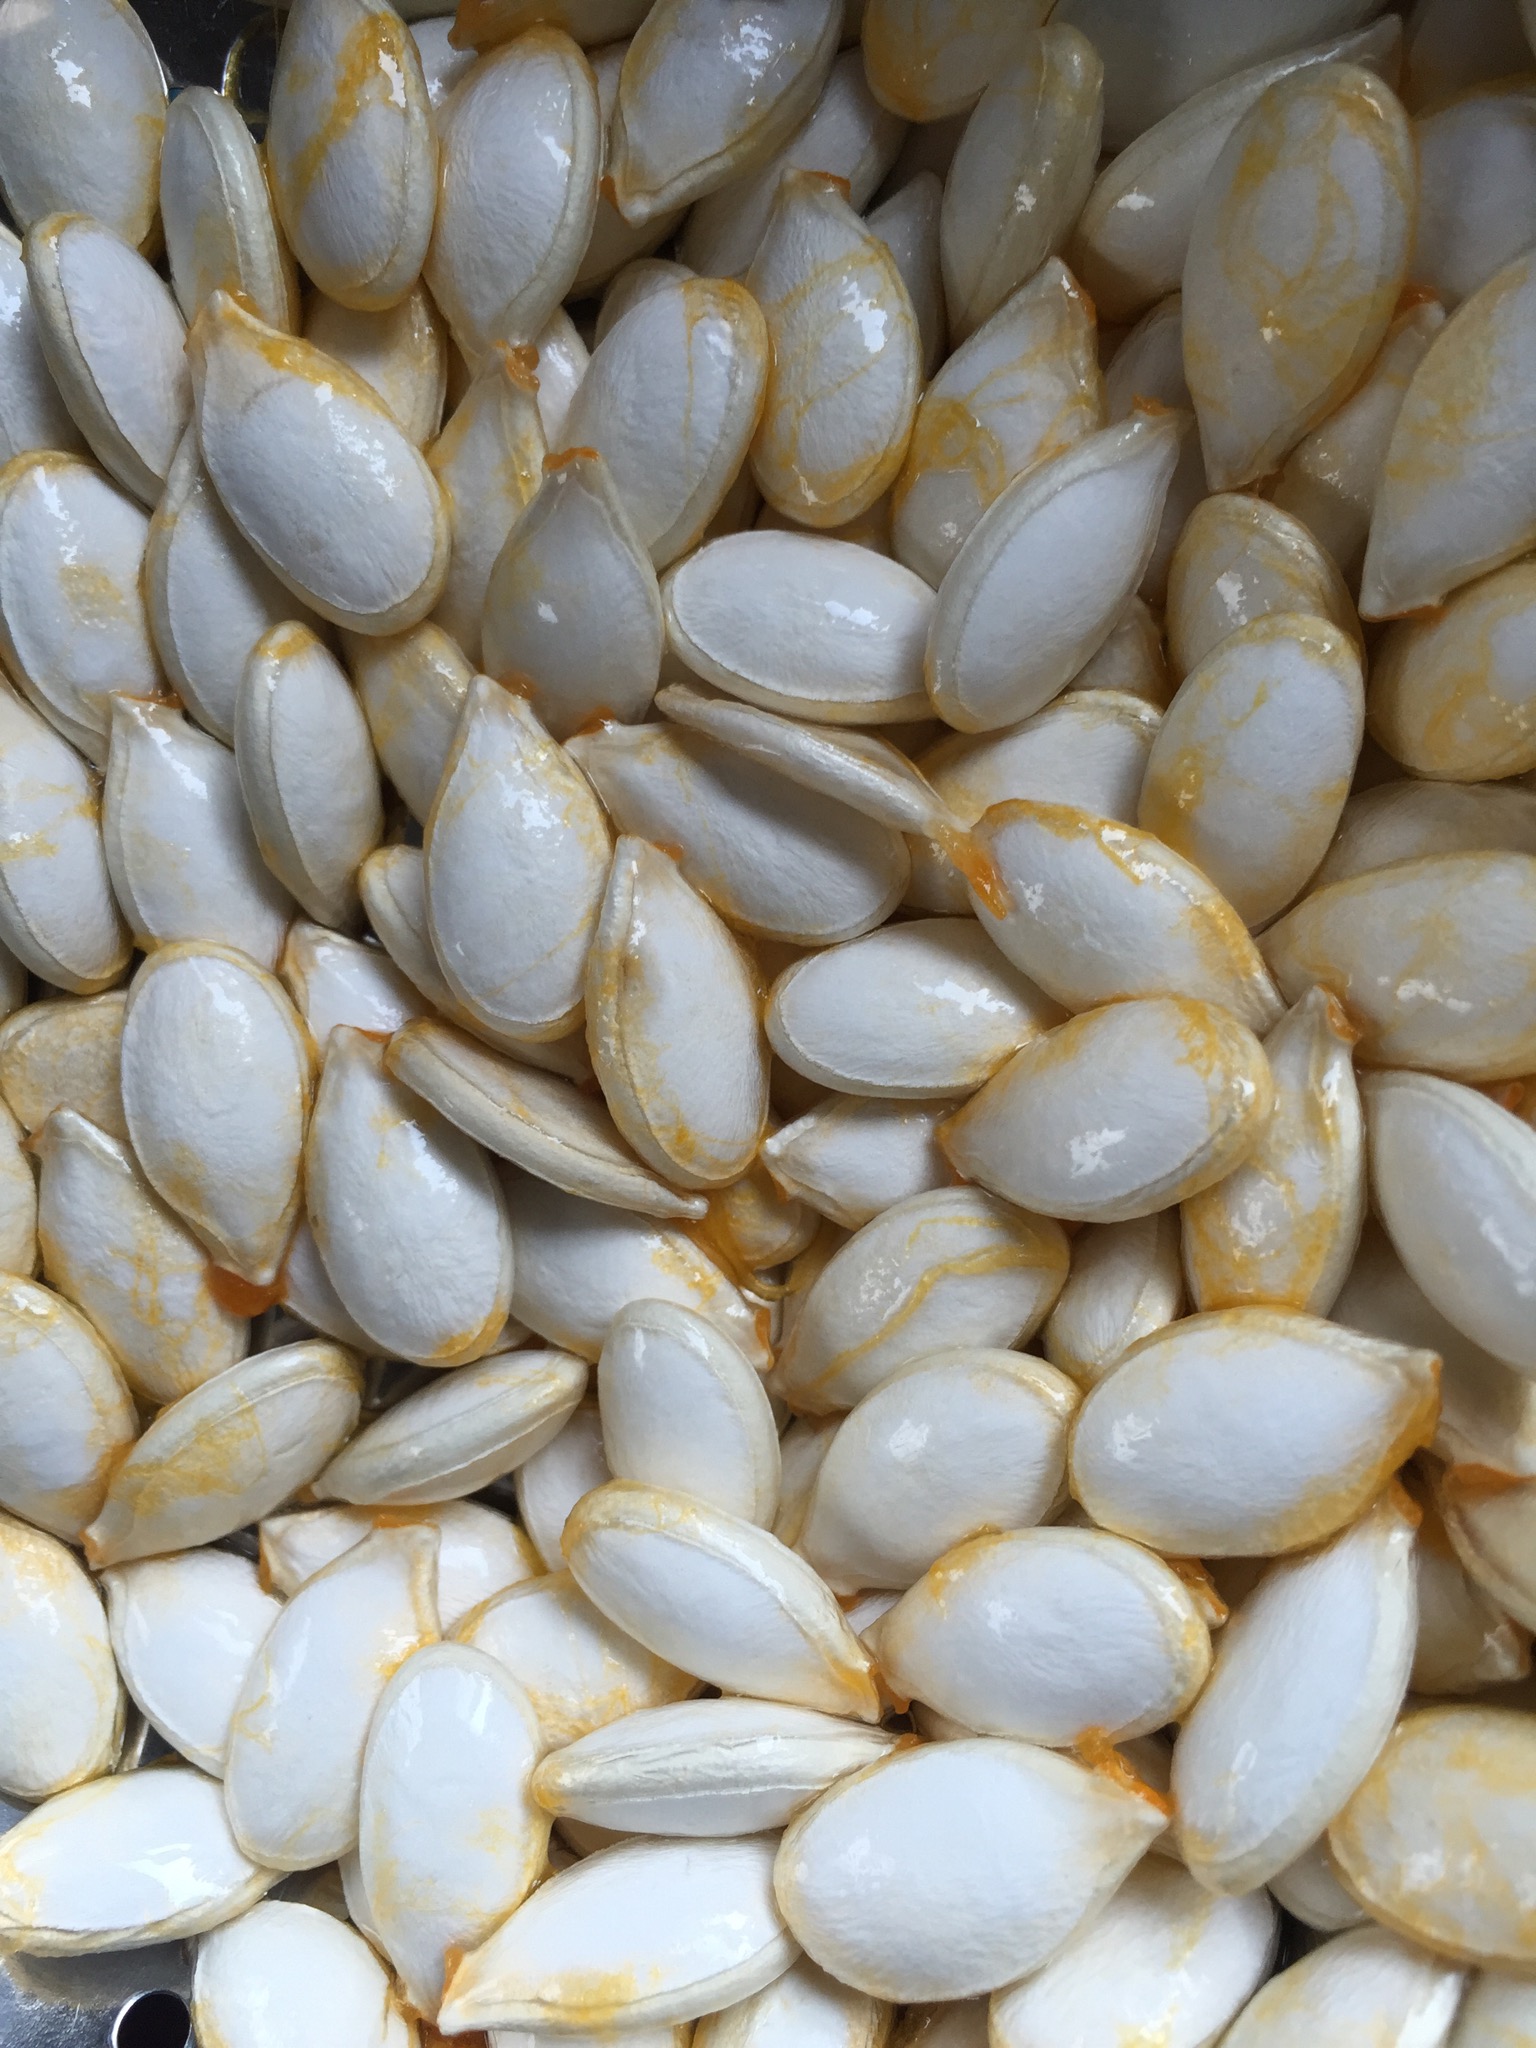
I placed the halves face down on a large cookie sheet lined with foil. Then I baked at 400 degrees for 60-90 minutes. Mine actually took about 55 minutes before the juices were gushing and bubbling in the pan. You can also try to cut the halves into smaller pieces but that just seems like you’re asking for trouble (see above). The good news is once you’ve got it open…you get millions of seeds!
Once the squash was roasted to the point where a knife (not the broken one!) slid right through the flesh, you’re all set. I let it cool for a while as I wrangled kids into chairs for lunch, naps etc.

Removing the flesh of the squash from the skin was pretty easy, most of it came away with a spoon and could easily be mashed into a puree. I ran a few bits through a food processor but really, they could probably have used a bit longer in the oven. Note for next time. The good news is you’re going to have way more puree than you could possibly need for one pie. You can easily freeze some for the next time around!

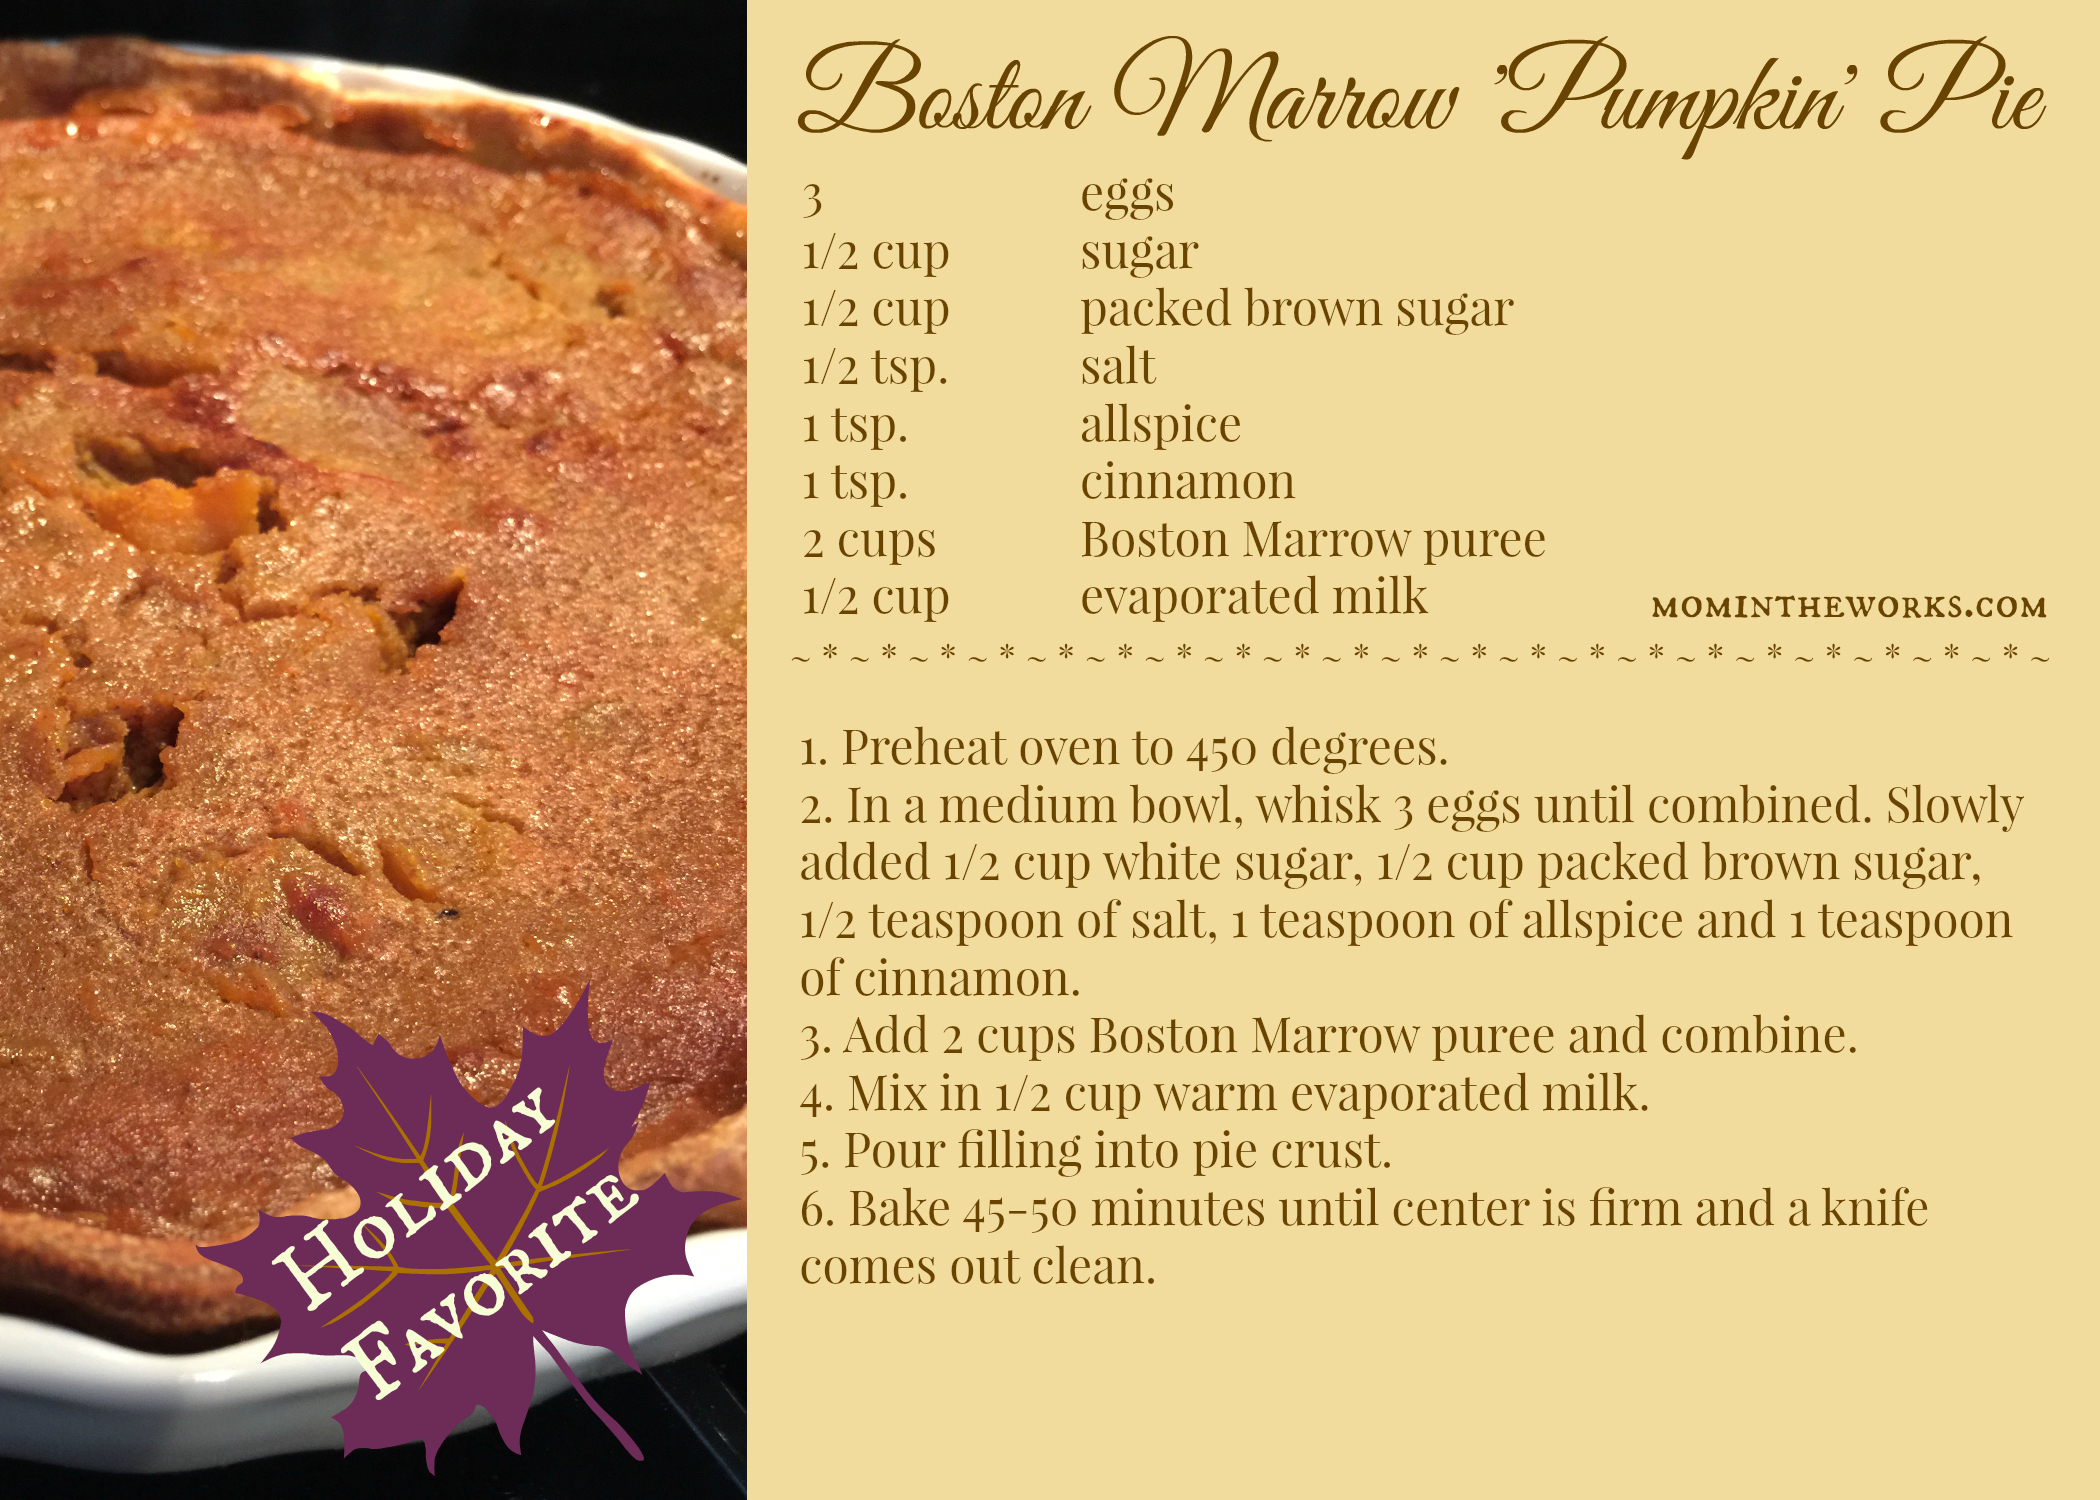
Next up was the filling! I used three eggs (straight from our hens) and hand whisk them until yolks and whites were combined. Then I slowly added 1/2 cup white sugar, 1/2 cup packed brown sugar, 1/2 teaspoon of salt, 1 teaspoon of allspice and 1 teaspoon of cinnamon (I like my spices!). Add in 2 cups of Boston Marrow puree and combine. Finally, add 1/2 cup evaporated milk (If you don’t have any hand, which I never do, you can simmer a little over twice the volume you want to end up with until it reduces. In this case, I used a little over 1 cup of whole milk.)
Slowly add the warm milk to the filling mixture. Finally, pour the whole lot into a pie dish prepared with a pie crust. I used a fairly vertically sided pie dish so the filling would be uniform across the entire pie.

Pop this into the oven at 450 degrees for about 45-50 minutes. When an implement of your choice can be inserted at the center of the pie and come out clean, it’s ready! There should be little to no jiggle if you move the pie dish (similar to a quiche).
I have to say, for a person who doesn’t really enjoy pumpkin pie…this is pretty darn good! Official taste test by the hubbie to follow…
Recipe card below!

by Liz | All Things Kids, The Backyard
We have long been prone to offering our toddler very repetitive foods for mealtime. It’s easy, she eats them most of the time and they’re easy to keep in stock. (Grilled chicken, fresh fruit and veggies, spinach nuggets, oatmeal, raisins, yogurt, apple sauce etc.).
So far, we are very lucky we don’t have a picky eater! We have always made an effort to take her out with us and feed her from our plates so she develops a taste for things. As long as she at least tries something, we try not to force her to eat anything she doesn’t want. Of course, at home there is often a game to be played so we do set some rigid requirements around our own dinner table. We are sticklers about eating what you ask for (no wasting food) and we are not afraid to let her “go hungry” if she’s being bratty. Let’s be honest, if she were actually hungry she’d be eating what was in front of her. There are also no toys at the table and we’re working on establishing conversation so there is a small bit of ceremony around the idea of a meal.
A recent phase developed of always asking for “something else” when she hadn’t finished what was in front of her. We had been in a habit of giving her one or two food items at a time and when that was finished, we’d move on to the next. Instead, we starting placing small amounts of each food on her plate to start with. If she wants more of something, she has to finish everything on her plate first. We also typically offer a “treat” once the meal is over, this usually happens to be an “ice yogurt” (a yogurt tube thrown in the freezer). If she doesn’t clean her plate, that’s fine, but she knows there’s no “treat” later. Other special treats have been smoothies, apple sauce or other foods we might not always have available. Variety seems key here as an incentive!
There are still plenty of food battles but those are the guidelines we try to live by. Consistency has always been our friend though at times, it’s so difficult not to give in! Lately, we’ve been trying to eat more often as a family. This is far more likely on weekends when one or both of us is home to cook (aka one cooks and one plays defense with the baby walker). With the babe heading towards one year, finger foods are a new source of frustration. So far, breads, grilled chicken, Cheerios and fruit are a hit. I refuse to start making three separate meals so baby Maggie is getting some major food exposure much more quickly than her sister ever did.
When I’m in a rut and need inspiration, there are a few places I can usually count on for inspiration:
Weelicious
She also has a cookbook!
100 Days of Real Food
Also with a book.
Super Healthy Kids
I tend to be more of an online girl myself, but that doesn’t always work for everyone!
PS: You’d laugh if you could see my “office” space today…I have to show you. At least I have tea and a view?


by Liz | Health & Home, The Backyard
Last week we were out of town longer than expected so we’ve been playing meal catchup all of this week. After a few meals out at friends and celebrating our anniversary, we had a hodgepodge of food left in the fridge by weeks end. The funny thing was, there was no coherent plan for any of it! So tonight I set out to create a meal (and leftovers for lunch tomorrow).
We ended up with chicken sautéed with a little olive oil after being coated in a medley of spices,

jasmine rice with red onion, zucchini and garlic (cooked in the same pan as the chicken so it picked up some yummy flavor)

and cauliflower with a little red wine vinegar, mustard and a titch of mayo.

Sound random?? It totally was but it sure was delicious!
This week’a goal is to prep ahead as much as possible so we can all sit down to eat together as a family. We really love establishing that routine as a family norm and Lena definitely responds well to it. She’s much more likely to eat what she’s given without argument and/or coaxing. It’s difficult when I sometimes don’t walk in the door until after 5:30 but we’re working on it!
by Liz | Health & Home, The Backyard
I freely admit that I have the farthest thing from a green thumb. While I adore growing things, if one happens to stay alive in my presence it’s through sheer luck.
I’m fairly adept at planting and the initial setup, it’s the tending and nurturing part that’s got me beat. I mean, it’s not like I have anything else to worry about. Fortunately, my husband enjoys the entire process and keeps me from neglecting anything too badly. There’s nothing quite so satisfying as watching your plants bear fruit!
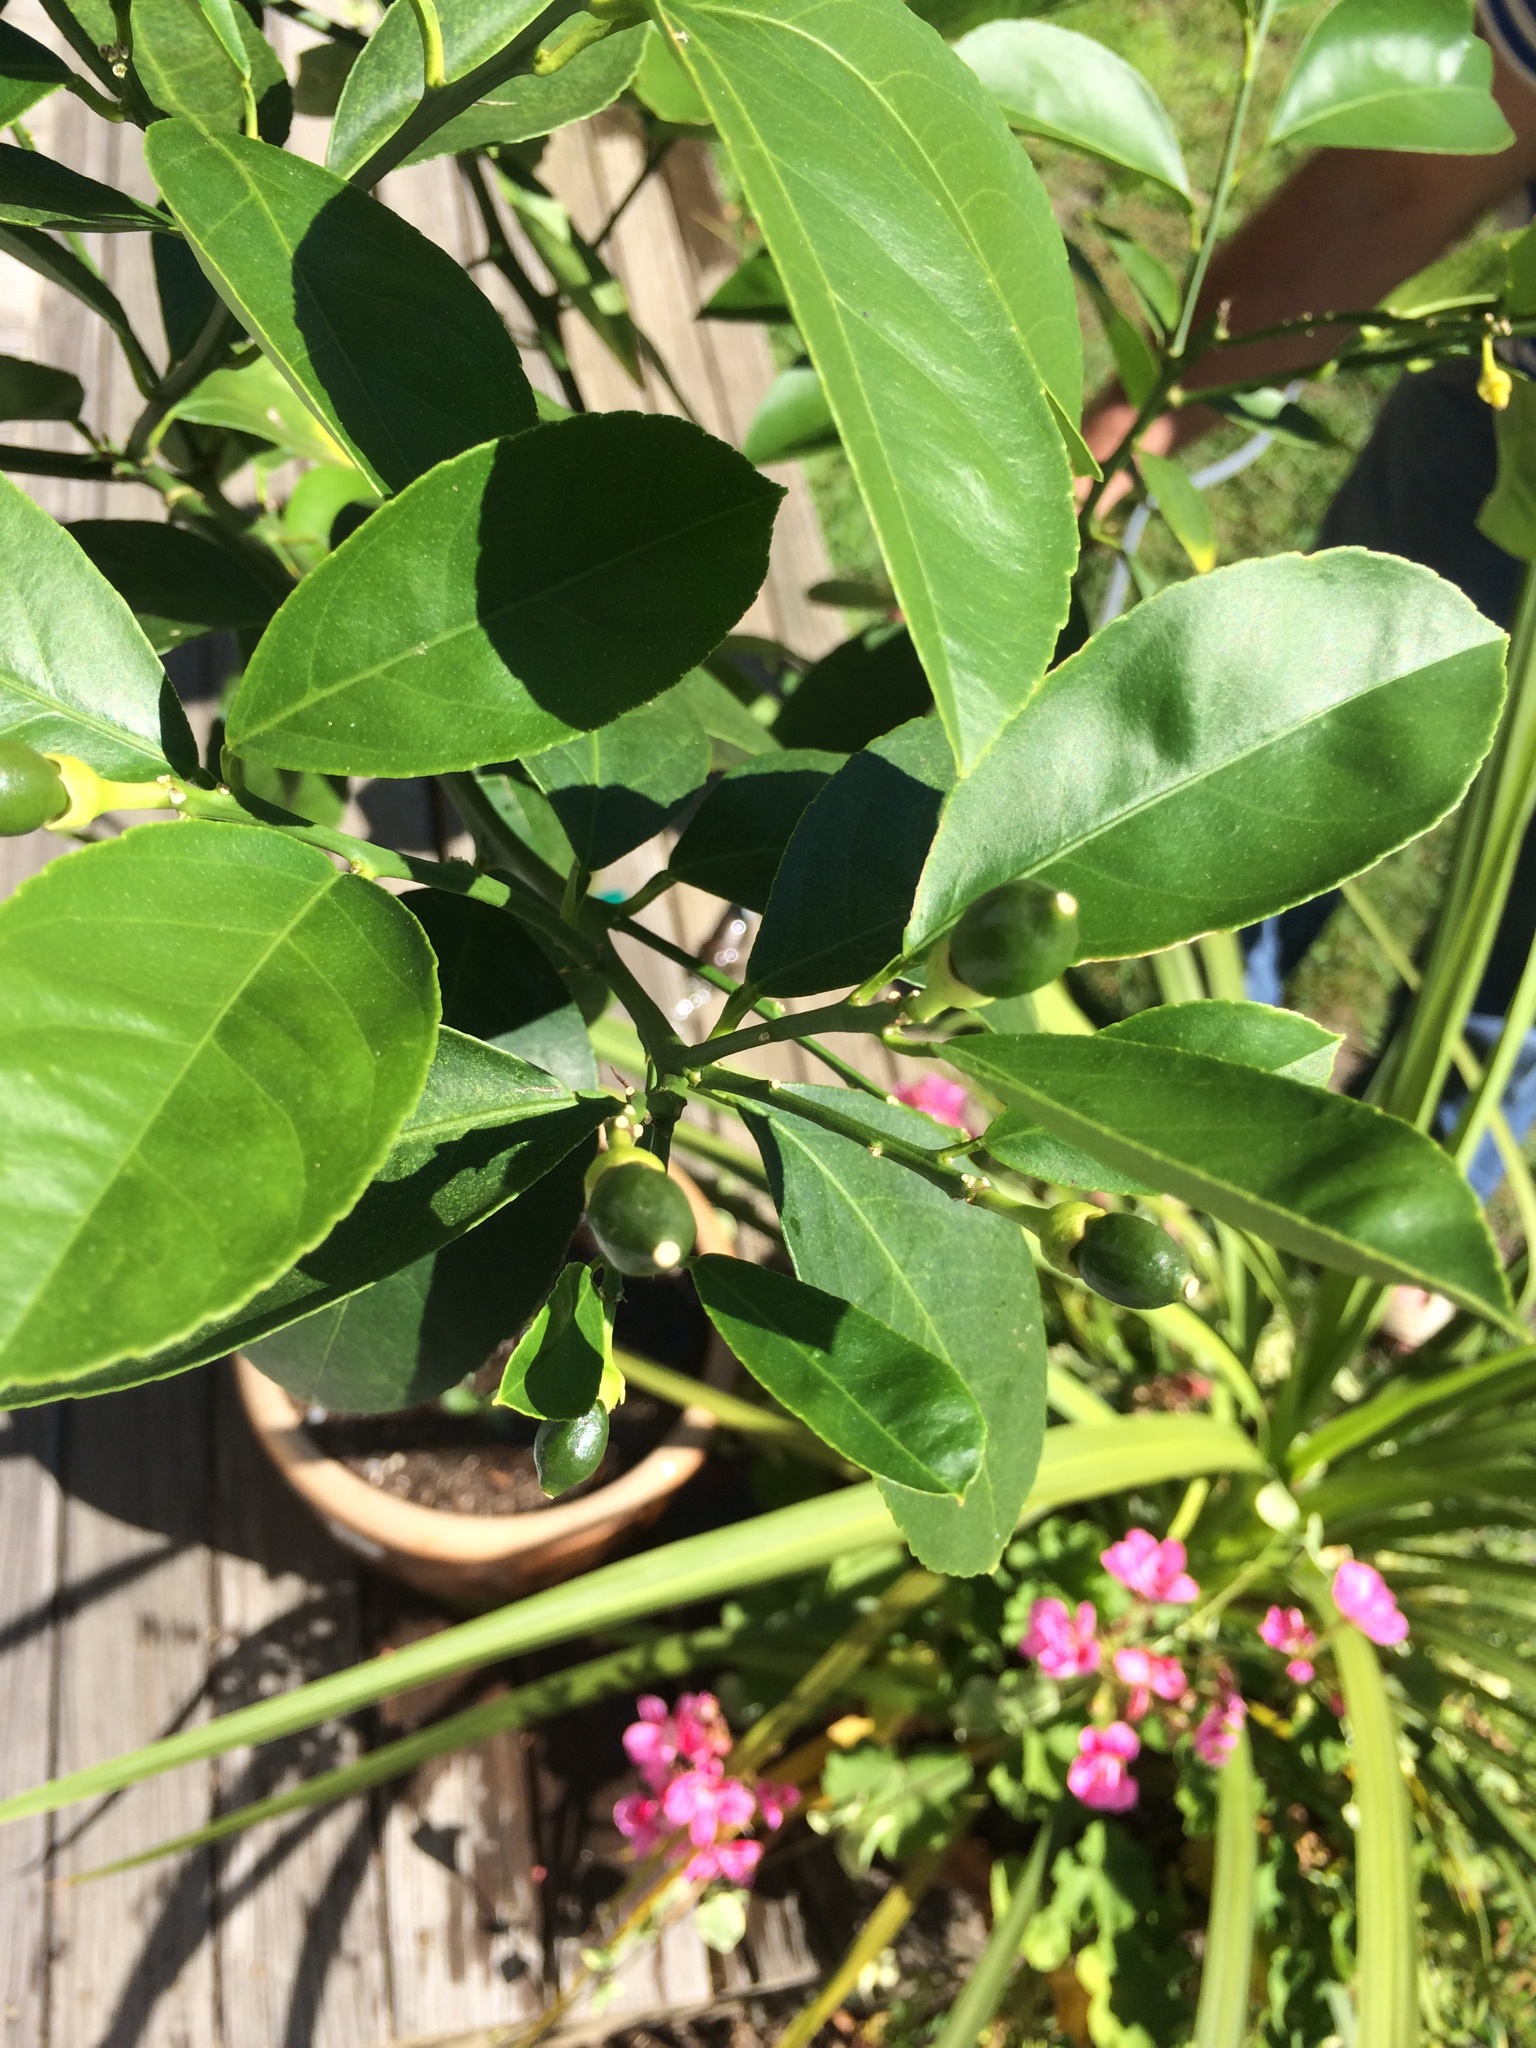
We barely threw together our kitchen garden this year as we had a ton of outdoor projects that took precedence. Since this is our first year in the house, we weren’t sure on placement or light so just picked a spot based on proximity to the door. That said, we’ve got some decent herbs, a few zucchini and a load of Roma tomatoes just waiting to ripen. Our Meyer lemon tree has been happily ensconced on the porch for the last two months and is also showing positive signs of a good harvest.
There is great joy in seeing Lena’s face light up when she sees the little plant she put in the ground growing tall and providing something we can eat. It’s priceless to me that she knows where some of her food comes from and the work that goes into cultivating it, even if it is on the tiny scale of our backyard garden. There’s a certain satisfaction in knowing we have fresh, healthy food outside our door when we need it.
I have big plans for next year, hopefully Joe will be on board!!


